Artwork Guidelines
Sticker Sheet Artwork Requirements
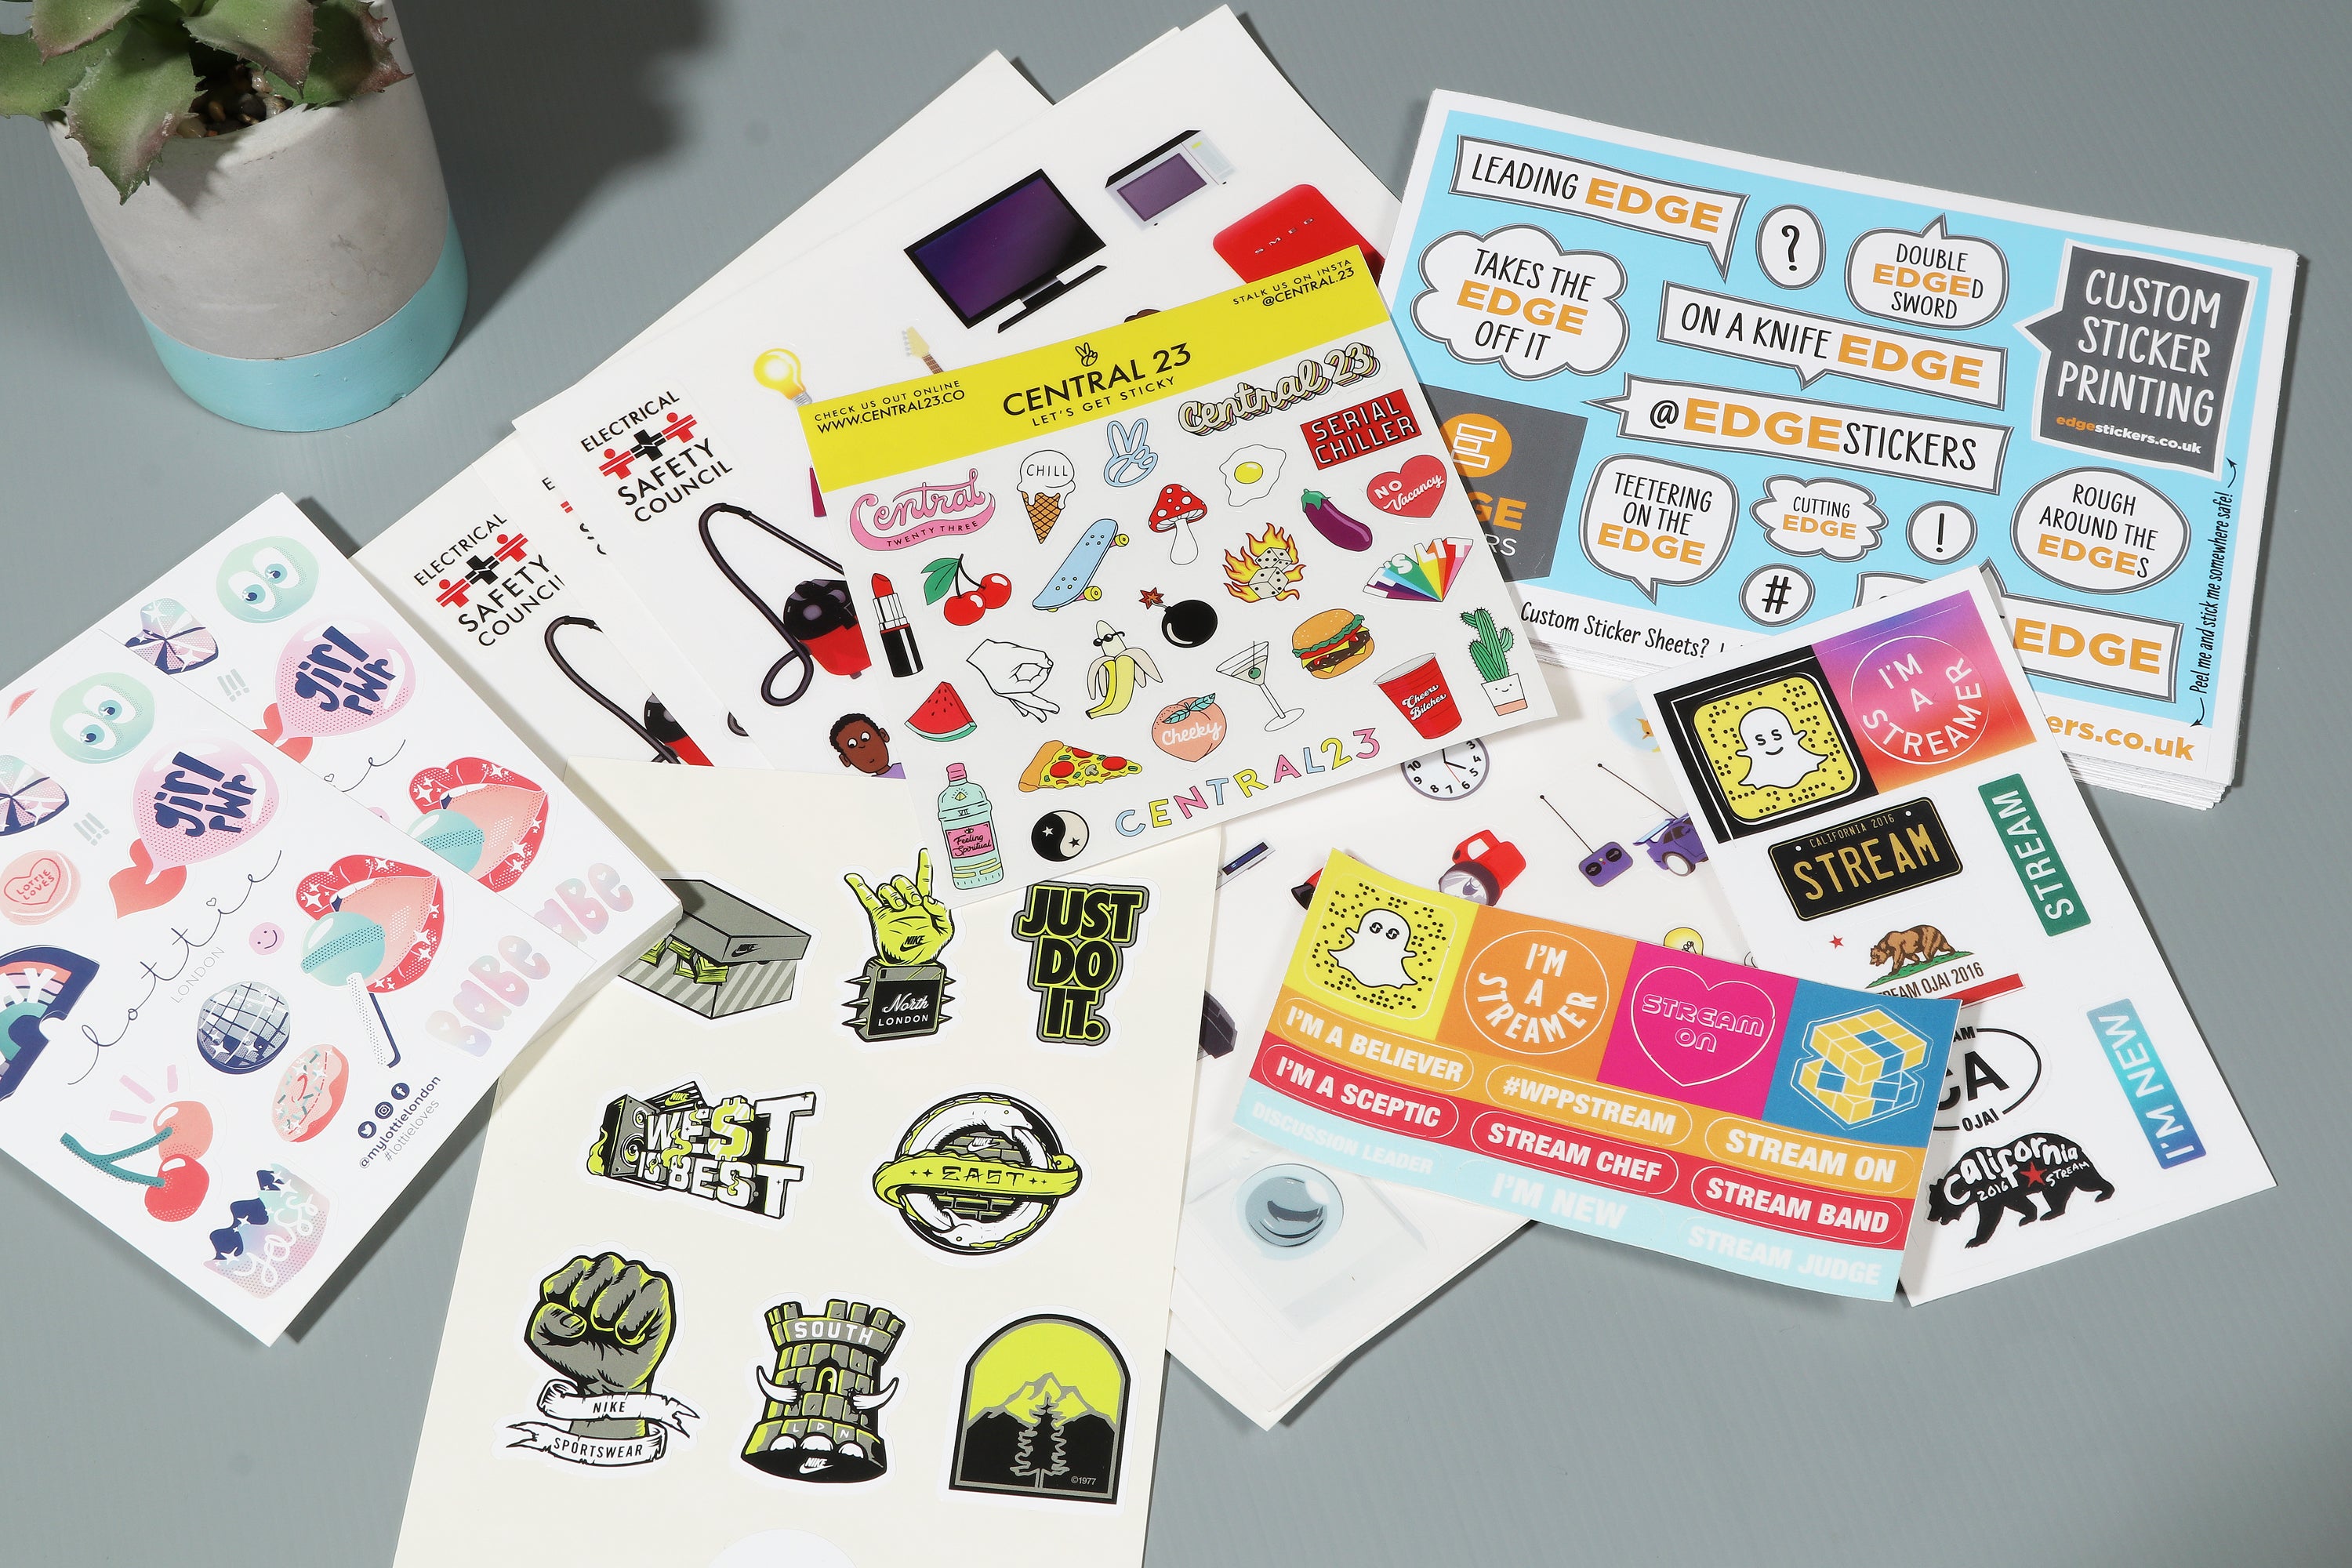
Creating artwork for sticker sheets is easy once you understand some basic rules. Here’s a simple, step-by-step guide to follow when preparing your artwork for print.
1. Digital Image Types: Vector vs. Raster
Vector Images: Vector images use shapes, paths, and text, giving them sharp, clean edges. They can be scaled up or down without losing quality. Typical file types are `.ai`, `.eps`, `.svg`, and `.pdf`.
Best for: Logos, shapes, and text-based designs.
Created with: Adobe Illustrator, Corel Draw.
Raster Images: Raster images are made of tiny coloured dots called pixels. These images lose quality if resized. File types include `.jpg`, `.tif`, `.png`, `.psd`, `.pdf`, and `.eps`.
Best for: Photos or complex images.
Created with: Adobe Photoshop, PaintShop Pro.
2. File Format
Preferred Format: PDF (fonts are embedded). If submitting multiple designs, please save each design as a separate PDF.
Other Accepted Formats: AI, EPS, PSD, JPG, TIFF. (Fonts must be connected to paths/outlines).
Not Accepted:
Word, PowerPoint, or Excel. If you need to use these, export as PDF first, but note the quality may not be high enough for print.
3. Colours
CMYK Format: For print accuracy always set your artwork colours in CMYK (Cyan, Magenta, Yellow, Black) for print accuracy.
RGB Colours: These are suited for screen, not print. RGB images will convert to CMYK, which can sometimes change the colours in unexpected ways.
Spot Colours: If your design uses Pantone colours, be aware these will also convert to CMYK for digital printing.
4. Fonts & Text
Embed or Outline Fonts: To ensure fonts print correctly, either embed them in your PDF or convert them to outlines (paths).
Tip: Keep an original version with editable text in case you need to make changes later.
5. Avoid Overprinting
Do Not Use Overprints: Overprints can cause colour issues that might not show up on screen but will appear on the printed sticker.
6. Black Elements
Use 100% Black (K): For black areas, set the K (black) to 100%. In digital printing, we may add some extra colour for depth, but you don't need to do this yourself.
7. Shaped Cuts
Cut Lines: If your stickers need a custom cut shape, supply the cut line as a vector file with as few nodes (points) as possible. Please send the cut line as a separate file and include instructions or a visual of where it should go.
8. Bleed and Safety Margins
Bleed: For artwork that reaches the edge of your stickers, include a 3mm bleed (extra space around the edges).
- Small prints (up to A4): 2mm bleed is OK.
- Large prints: At least 5mm bleed.
Safe Zone: Keep important details away from the edges or areas affected by holes, cuts, or other finishing needs.
9. Scale
Design at Actual Size: Try to create your artwork at the actual size you want it printed.
10. Resolution for Raster Images
Recommended DPI:
- 300 dpi at print size.
11. File Naming and Organization
Descriptive Names: Use clear, short, descriptive file names to avoid mix-ups, especially if sending multiple files.
By following these guidelines, your sticker sheets will print clearly, with vibrant colours and perfect shapes!